A Logo is the identity of your business. Including one when creating a website not only defines the personality of your company and its employees but also makes your company step above the competition. The Logo, nowadays is used on websites also and our website builder also allows you to place your logo in the header. But what if your logo size is large and makes your page look ugly instead of professional? This tutorial will help you give a perfect size to your logo (or any other image for that matter) and impress your visitors.
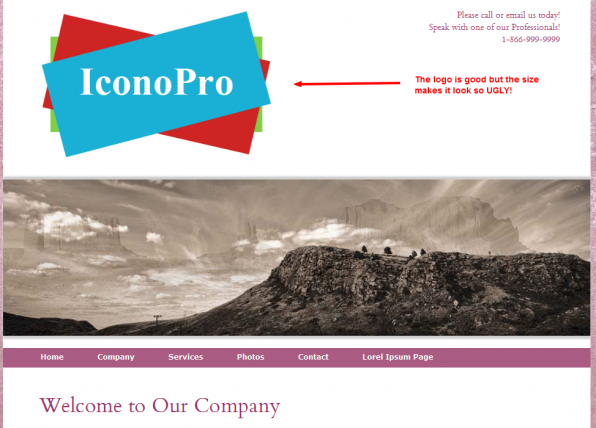
My site has a logo that suits my business well and I am happy to have it on my Icono free website. But the large size of the image makes the whole site very ugly and instead of impressing the people, it ruins the image of my business.
We will solve this problem by using Picresize.com
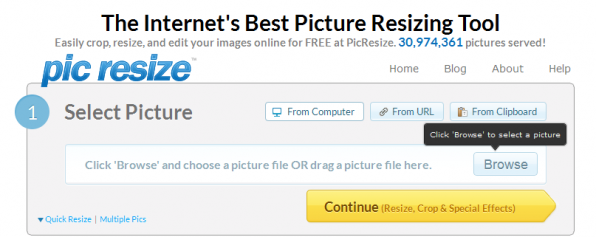
1) Go to Picresize.com
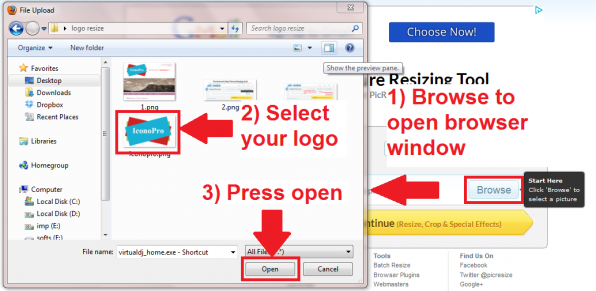
2) Press the ‘Browse’ button to open up a file browser and select the file.
3) Go through the following screenshot if you need help with selecting your logo image.
4) Now press the big yellow button to proceed to next step.
5) Scroll down to 2nd option which will allow you to resize your image (check screenshot). Select any existing preset or enter custom dimensions if you know how much place you have on your header. I made my logo 50% smaller in size.
6) Click the option with a floppy icon to ‘Save the image to disc’.
7) Log-in into your Iconosites website maker account. Check the left sidebar for ‘Logo/header/footer’ section. Click it!
8) Scroll down to the image uploader. Press the ‘Add Files’ button to select an image. Now press ‘Upload’ to start uploading.
9) Your new logo will be uploaded within a second and shown to you. Click on ‘Activate Logo’ within the professional website creator to use the new logo on your website.
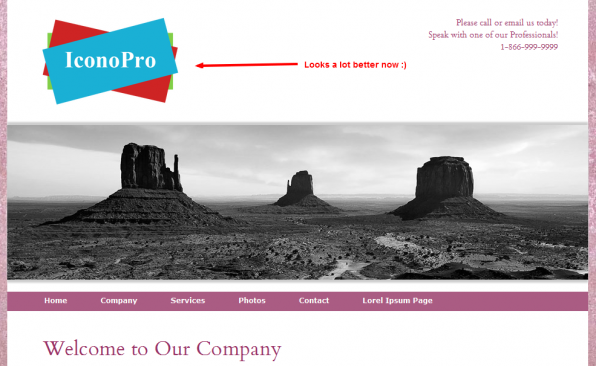
And that is it! We are done and our website has been updated with the resized logo.
This is how my Icono website looks after placing a re-sized logo.


